Our guide will tell you all you need to know about installing a projector quickly. Install your home cinema, presentation or school projector in just 5 steps. Quick and easy!
Calculate projection distance correctly
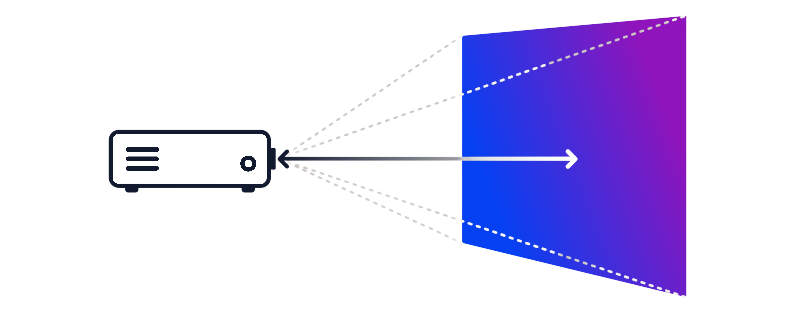
The lens of a projector is crucial for positioning and adjusting the image size, as it influences the projection distance. Most projectors have a fixed lens that requires a certain distance from the projection surface. However, most projectors with a fixed lens offer a flexible projection ratio that allows the distance between the projector and projection screen to be changed.
How to calculate the projection distance yourself
The projection ratio can be used to determine distances and image widths. The ratio indicates the distance at which the projector must be positioned in order to achieve a 1 metre wide projection.
Assuming that the optics of a projector offer a projection ratio of 1.5 - 1.66:1, a distance of 1.5 - 1.66 metres is required for a picture width of 1 metre.
To achieve a picture width of 2 m, we calculate 2 × 1.66 = 3.32. This value corresponds to the greatest distance to the wall in metres. Then we calculate 2 × 1.5 = 3. This value corresponds to the smallest distance between the projector and the projection screens. We can therefore vary the distance of the projector between 3 and 3.32 metres to obtain an image width of 2 metres.
Install projection screens
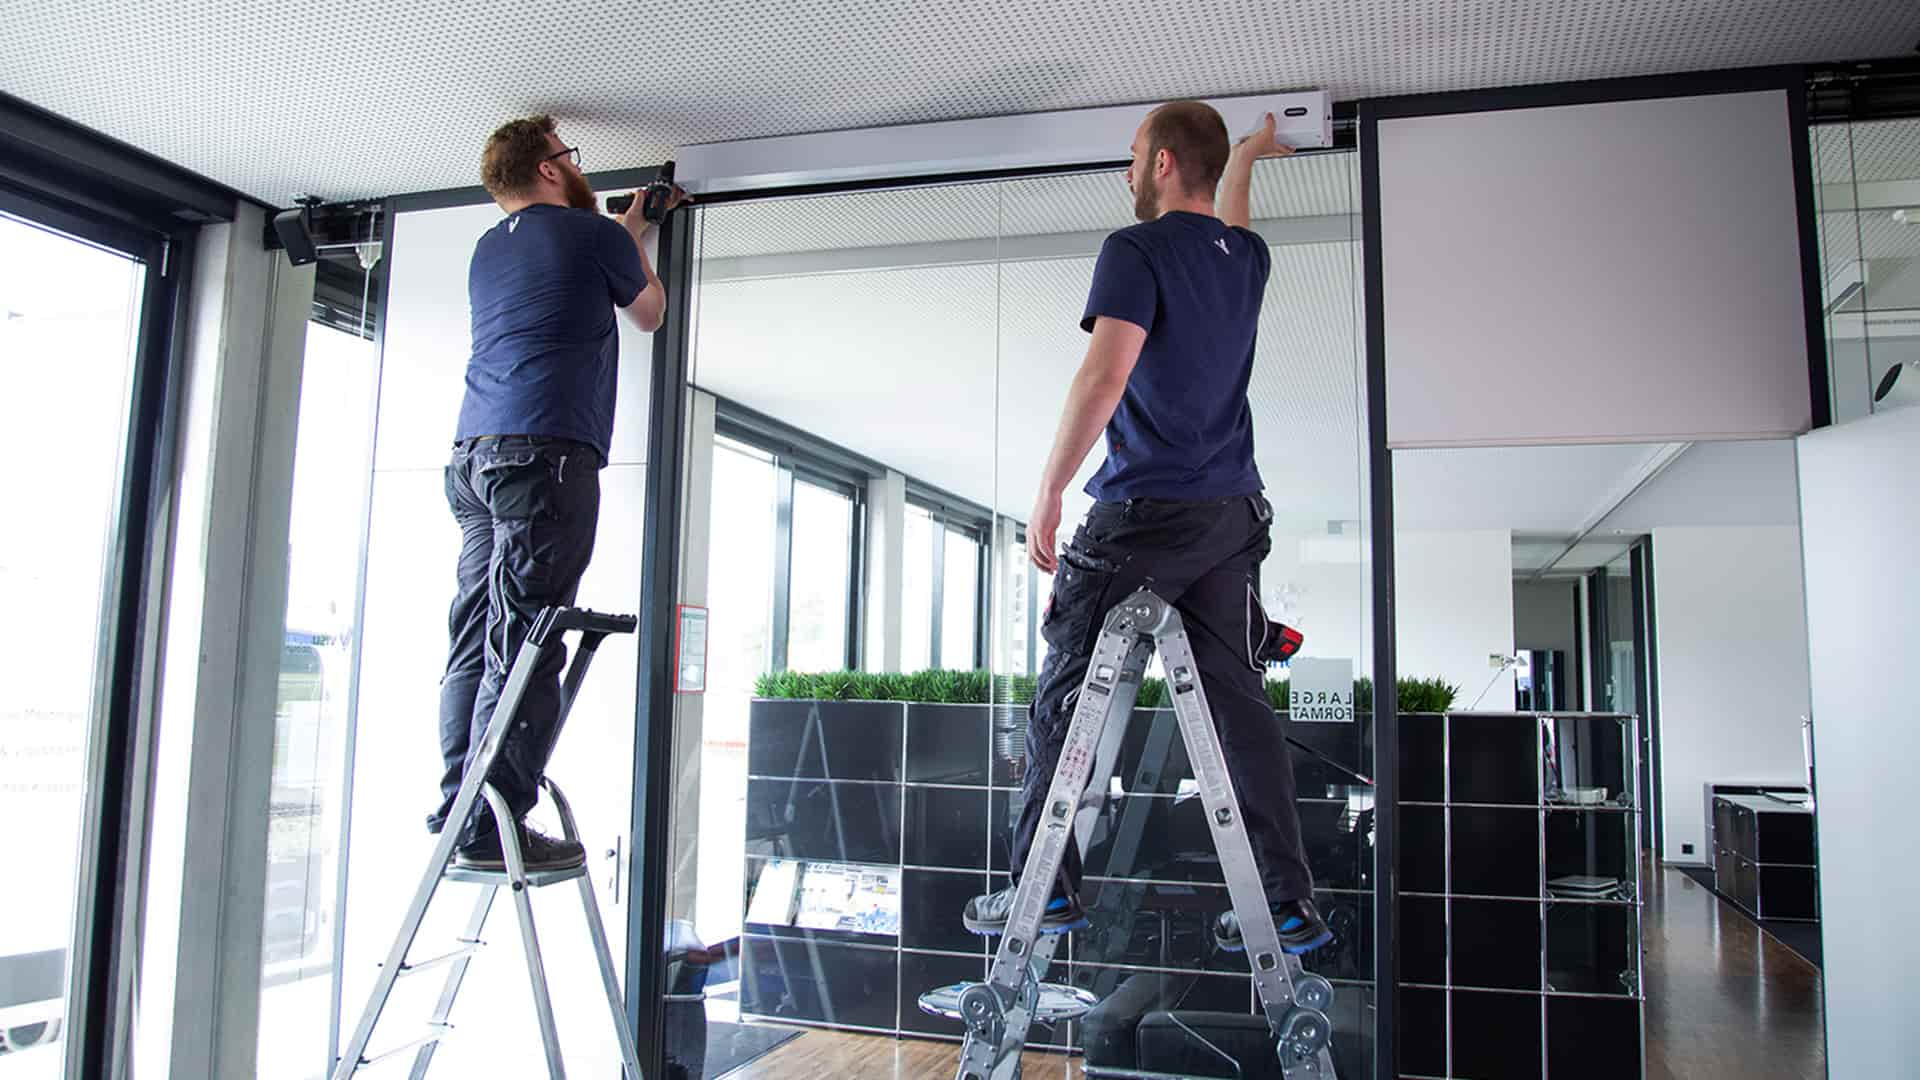
As a projection screen takes up the most space, we recommend installing it first. It is best to get help to install it in the desired location without any problems. However, you can also install a projector on your own.
Install projectors
The alignment of the projector depends heavily on the optics and the projection technology used. A projector must therefore always be individually aligned, especially if it is to be suspended from the ceiling. The so-called offset value plays a central role here. This indicates the percentage vertical offset of the projected light cone from the centre of the image.
An offset value of 50 per cent, for example, means that a projector must be aligned with the bottom edge of the projection screen for a straight projection.
With an offset value of 0 per cent, the projector is level with the centre of the screen, which is usually the case for projectors with good lens-shift. For ceiling mounting, this offset must be mirrored vertically downwards accordingly, especially if the projector is to be hung there.
How to determine the offset yourself
Place the projector on the floor at a distance from the wall that is required for the desired image size. Now measure the distance from the floor to the bottom edge of the picture using a folding rule. You have now determined the vertical offset. If you are using a projector with good lens-shift properties, the offset is irrelevant. The lens-shift compensates for most of the image height.
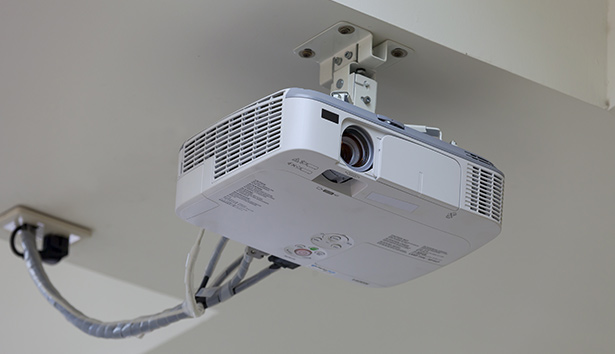
Mounting the projector ceiling mount
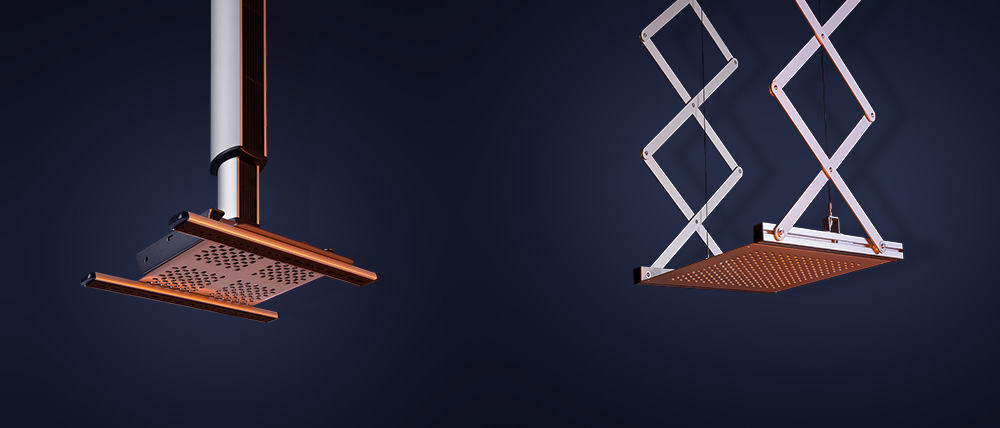
For high ceilings, we recommend height-adjustable ceiling mounts for projectors. With these ceiling brackets, you can flexibly adjust the vertical distance to the ceiling.
With a standard ceiling height of approx. 2.4 metres and a picture start (top edge) at a height of approx. 2.2 metres, a rigid ceiling mount with a distance of 15 cm can also be used for an LCD projector. A DLP projector can be suspended a little higher or the projection screen a little lower.
Keep one or two spirit levels to hand for adjusting the projector. This will allow you to determine and optimise the tilt forwards and sideways at the same time.
Aligning and adjusting the image
As soon as the projector is mounted on the ceiling, it can be connected. In addition to the power cable supplied, you will need cables to transfer the image and sound from a playback device such as a Blu-ray player or notebook. An HDMI cable is usually used for this. If you are not sure which connections you want to use, our buying guide to connecting projectors will help you.
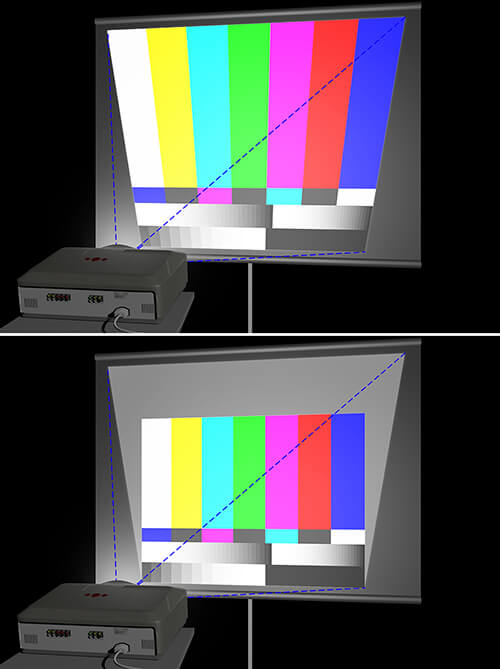
Vertical and horizontal lens-shift can only be combined to a limited extent. If horizontal and vertical lens-shift are used simultaneously, they restrict each other and the maximum values cannot be achieved. When trying to set the maximum values, the lens therefore follows the shape of a stop sign rather than a rectangle.
The lens-shift value is always specified from the centre of the lens. This means that with a vertical lens-shift of +/-50%, for example, the image can be shifted up or down by 50% of the image height from the centre of the image. The same applies to the horizontal lens-shift.
There are various ways to set the keystone correction. The classic method is to press a printer button on the surface of the projector. It is somewhat more convenient to use the remote control.
Colour and image calibration
Projectors usually have a setup menu for various colour and picture settings. Although the menus differ visually from manufacturer to manufacturer, they generally offer similar or comparable settings.
Classic colour settings for home cinema are, for example, "Cinema" or, for other manufacturers, "Cinema". For business projectors used in conference or meeting rooms, we recommend the "Presentation" colour setting or a comparable setting. Although this reduces colour fidelity, it offers high brightness. Ideal for bright rooms.
In contrast, avoid the "Bright" or "Bright" picture setting. Here you can achieve maximum brightness, but at the expense of picture quality. If you want to carry out a calibration yourself, this may not reach the level of a professional calibration, but it can improve the image. Use test images for this. You can find a suitable provider via Google search.
High-end colour calibration
In addition to the default settings, some projectors offer colour management settings. Depending on the model, calibration menus are available in accordance with the ISF (Imaging Science Foundation) or ISF ccc standard. These allow you to save colour profiles after the projector has been calibrated by a certified body. Compared to conventional modes, you get a significantly better image quality with a calibrated projector.
Which is better: standard or eco mode?
The lamp setting influences the image quality. You can usually choose between normal and eco mode. Full brightness is achieved in normal mode. This mode is therefore a must for bright rooms. If it is possible to darken the room, eco mode is a good alternative. The light output is reduced and the picture appears slightly darker. This has a positive effect on the image contrast and extends the service life of the projector lamp.


